Thursday, 19 January 2012

Using an Image Sequence as a texture in Maya

Matt Jonas had a thought concerning the production of the video sequences. One method of compositing an actor onto a 3D scene is to render out seperate layers, then combine them in an effects package, such as Adobe After Effects which is freely available to use at the University.

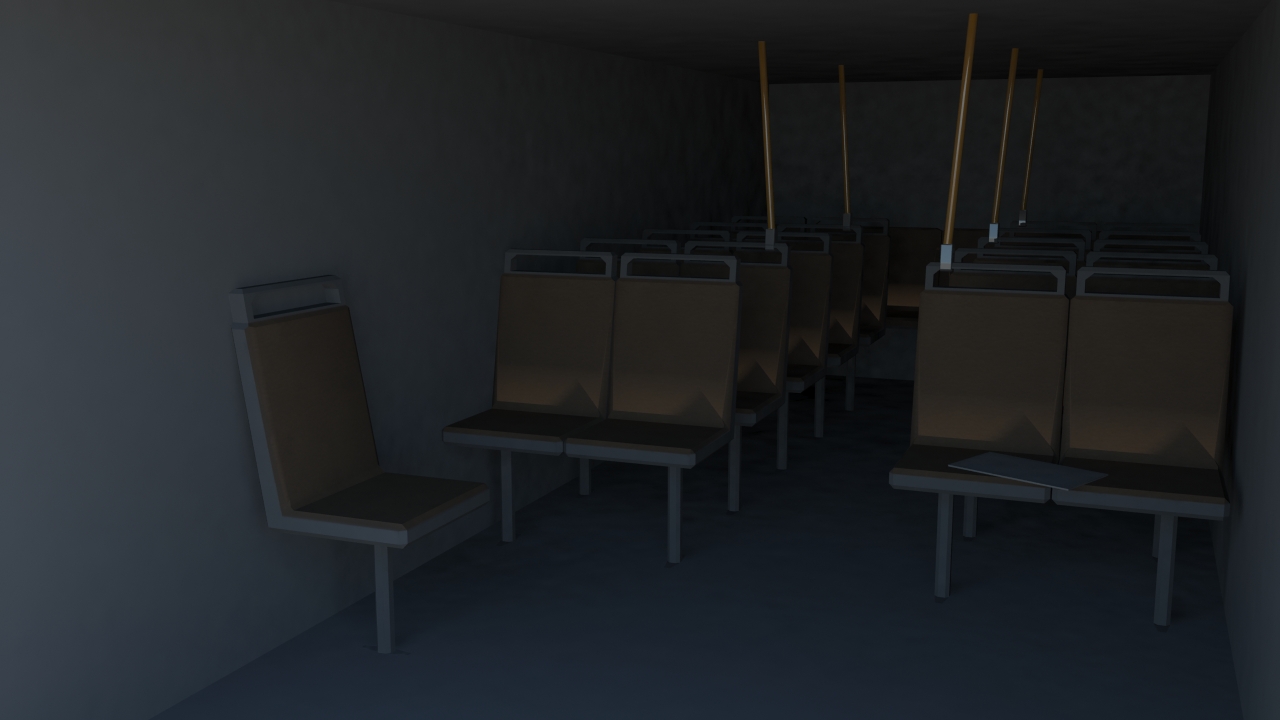
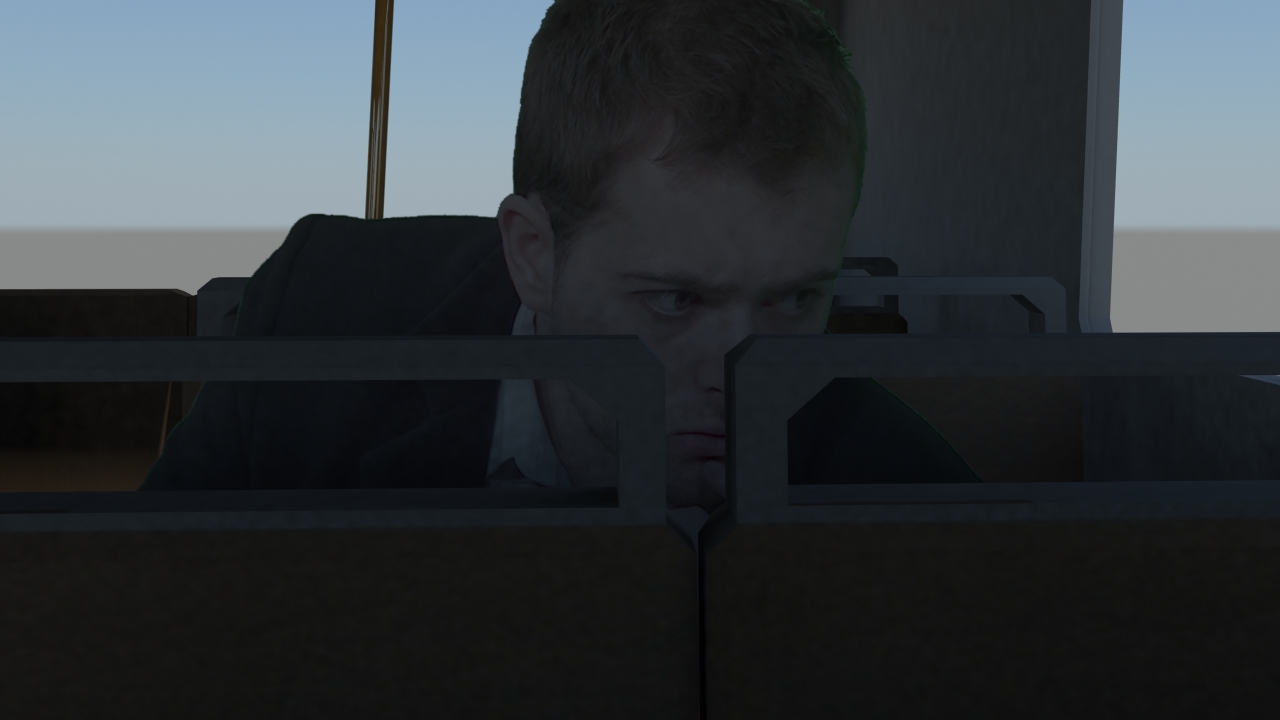
However, when rendering out the screen test for the bus scene, the Mental Ray screenshot looks very good. The way the shadow falls onto Jack Young's face is organic and believable. At a first glance, it looks like a scene from a 3D film.

So the consideration was: how do we get that effect for the whole video?

The method Matt Jonas suggested was to export the frames of HD video, keyed-out to an alpha background, as an image sequence. Then, the image sequence could be loaded into 3D modelling software as an animated texture which would then play properly in the scene.

The first problem that we discovered was that Autodesk Maya 2012 is very particular about file names. The file naming standard has to be suitable for use in the program, otherwise the textures will not load. The second discovery is that smaller file sizes mean lesser strain on the computer during rendering and preview.

We sought the high-definition visuals like those in our first render test, so we needed to export the frames at full size and in a high-detail file format. The first consideration was lossless TIFF, a format used in digital graphics.

While this file format supports large, layered images, transparency and full colour, the files are also very large. Upon further inspection, the TARGA format (used in the film industry) contained all these functions. The rendered frames looked almost identical to the TIFF counterparts and the set of 150 frames came out around 200MB smaller.

This is a playblast video showing the animated texture within Maya:


When it has rendered, we will upload the test video as seen through the Mental Ray renderer.

Concept Art - Leo Miller

Leo Miller (played by Matt Jonas) is Jack Young's superior. He appears for one scene, where he is accused of corruption and accepting bribes. As always, Jack's pure intentions and excellent character leads him to discover the truth in every little detail.


The look for Leo Miller was decided purely by coincidence. These two pieces of conceptual artwork were drawn after the final design was chosen. These two images were drawn by Matt Jonas.

Concept Artwork - Jack Young

Here is a selection of concept artwork to help decide the look of the main character, Jack Young (played by Matt Ball).

Matt Jonas drew this image, which shows Jack Young in four fairly similar styles. The first style focuses on the head and neck, showing Jack as a man in his early twenties. The second style shows Jack nearest to his final look, wearing a shirt, tie and jacket.

The third sketch shows Jack as a very loud and obnoxious character, far from his final design. He is wearing a blue pull-over, which quite simply did not follow the logic that we intended for the character. The fourth sketch shows him as a strong, possibly violent man. While he may appear irriated, the character of Jack Young should never be violent.


We toyed with the idea of having Jack Young wear sunglasses. This did not suit his character at all, and would also require obtaining a nice pair of sunglasses especially for the role. Matt Jonas drew this image.


Matt Ball donned a suit and tie to see how the character concept, at this point, would look in the finished product.


To further understand the complex nature of the character of Jack Young, Matt Jonas put together this mood board, which shows several fictional characters who all share elements of Jack's behaviour and characteristics. Characters include Dr. Jimmi Clay (from Doctors), Kyle Hyde (from Hotel Dusk) and Agent Morgan (from Deadly Premoniton).


Another piece of concept art shows Jack Young losing his mind while engulfed in darkness. Artwork created by Matt Jonas.

Bus Scene

Matt Ball modeled the bus interior scene. A brown leather texture for the bus seats was created by Matt Jonas using Mudbox 2012. This scene is likely to appear only during a video sequence, so the textures were created at double the resolution of those intended for during gameplay.


Here is a render of the bus scene before windows were added to the bus.


We took some video footage filmed against the greenscreen in the Production Studio, and made a textured plane in the 3D environment. We placed a single frame from the video and used it to decide which camera angle suited the best. We then rendered out two test images of this concept.


Although only a test of our environment using a quick workaround, this test has shown us not only that our idea will be viable, but also that it shouldn't be too hard to do.

Matt Jonas rendered different layers, and quickly created a video mock up of how the scene may look when finished.

Tests using the Unity Engine

This is footage from the first test importing objects into the Unity game engine. One of the most astonishing things concerning Unity is the native support of Maya *.mb files. Instead of having to export your files into a specific format (Unreal Engine, Source Engine) you can drag-and-drop your files directly into your project.


In the first video, Matt Jonas imported the objects directly into the Unity engine.


Matt Jonas applied walls and lighting to the scene. As an engine, Unity is much more suited to games set in a large environment. However, in this video, it is clear that the engine will support small areas just as easily and efficiently.

.

Courtroom Scene

This is a courtroom scene from Terminal Reverence. It has been modeled by Matt Ball and textured by Matt Jonas. These renders were made in Maya 2012 using Mental Ray renderer. 


The scene with unfinished textures. No objects had textures applied to them besides the computer monitor.